Configuration Guide
Configuration Methods
You can configure registries in two ways: Setup Wizard: On first run, the UI shows a setup wizard to configure your registry through the web interface Config File: Pre-create aregistries.config.json file for automated deployments
Environment Variables
Variable Description Default
CONFIG_FILE
Path to registries configuration file (optional - setup wizard used if not provided). By default the app checks /app/registries.config.json. When running inside the official container it is common to set this to /app/data/registries.config.json (for example by mounting ./data:/app/data).
/app/registries.config.json
READ_ONLY
Enable read-only mode (disable delete operations)
false
PORT
Port for the web interface
5000
Setup Wizard (First Run)
If no configuration file exists, the UI displays a setup wizard on first access: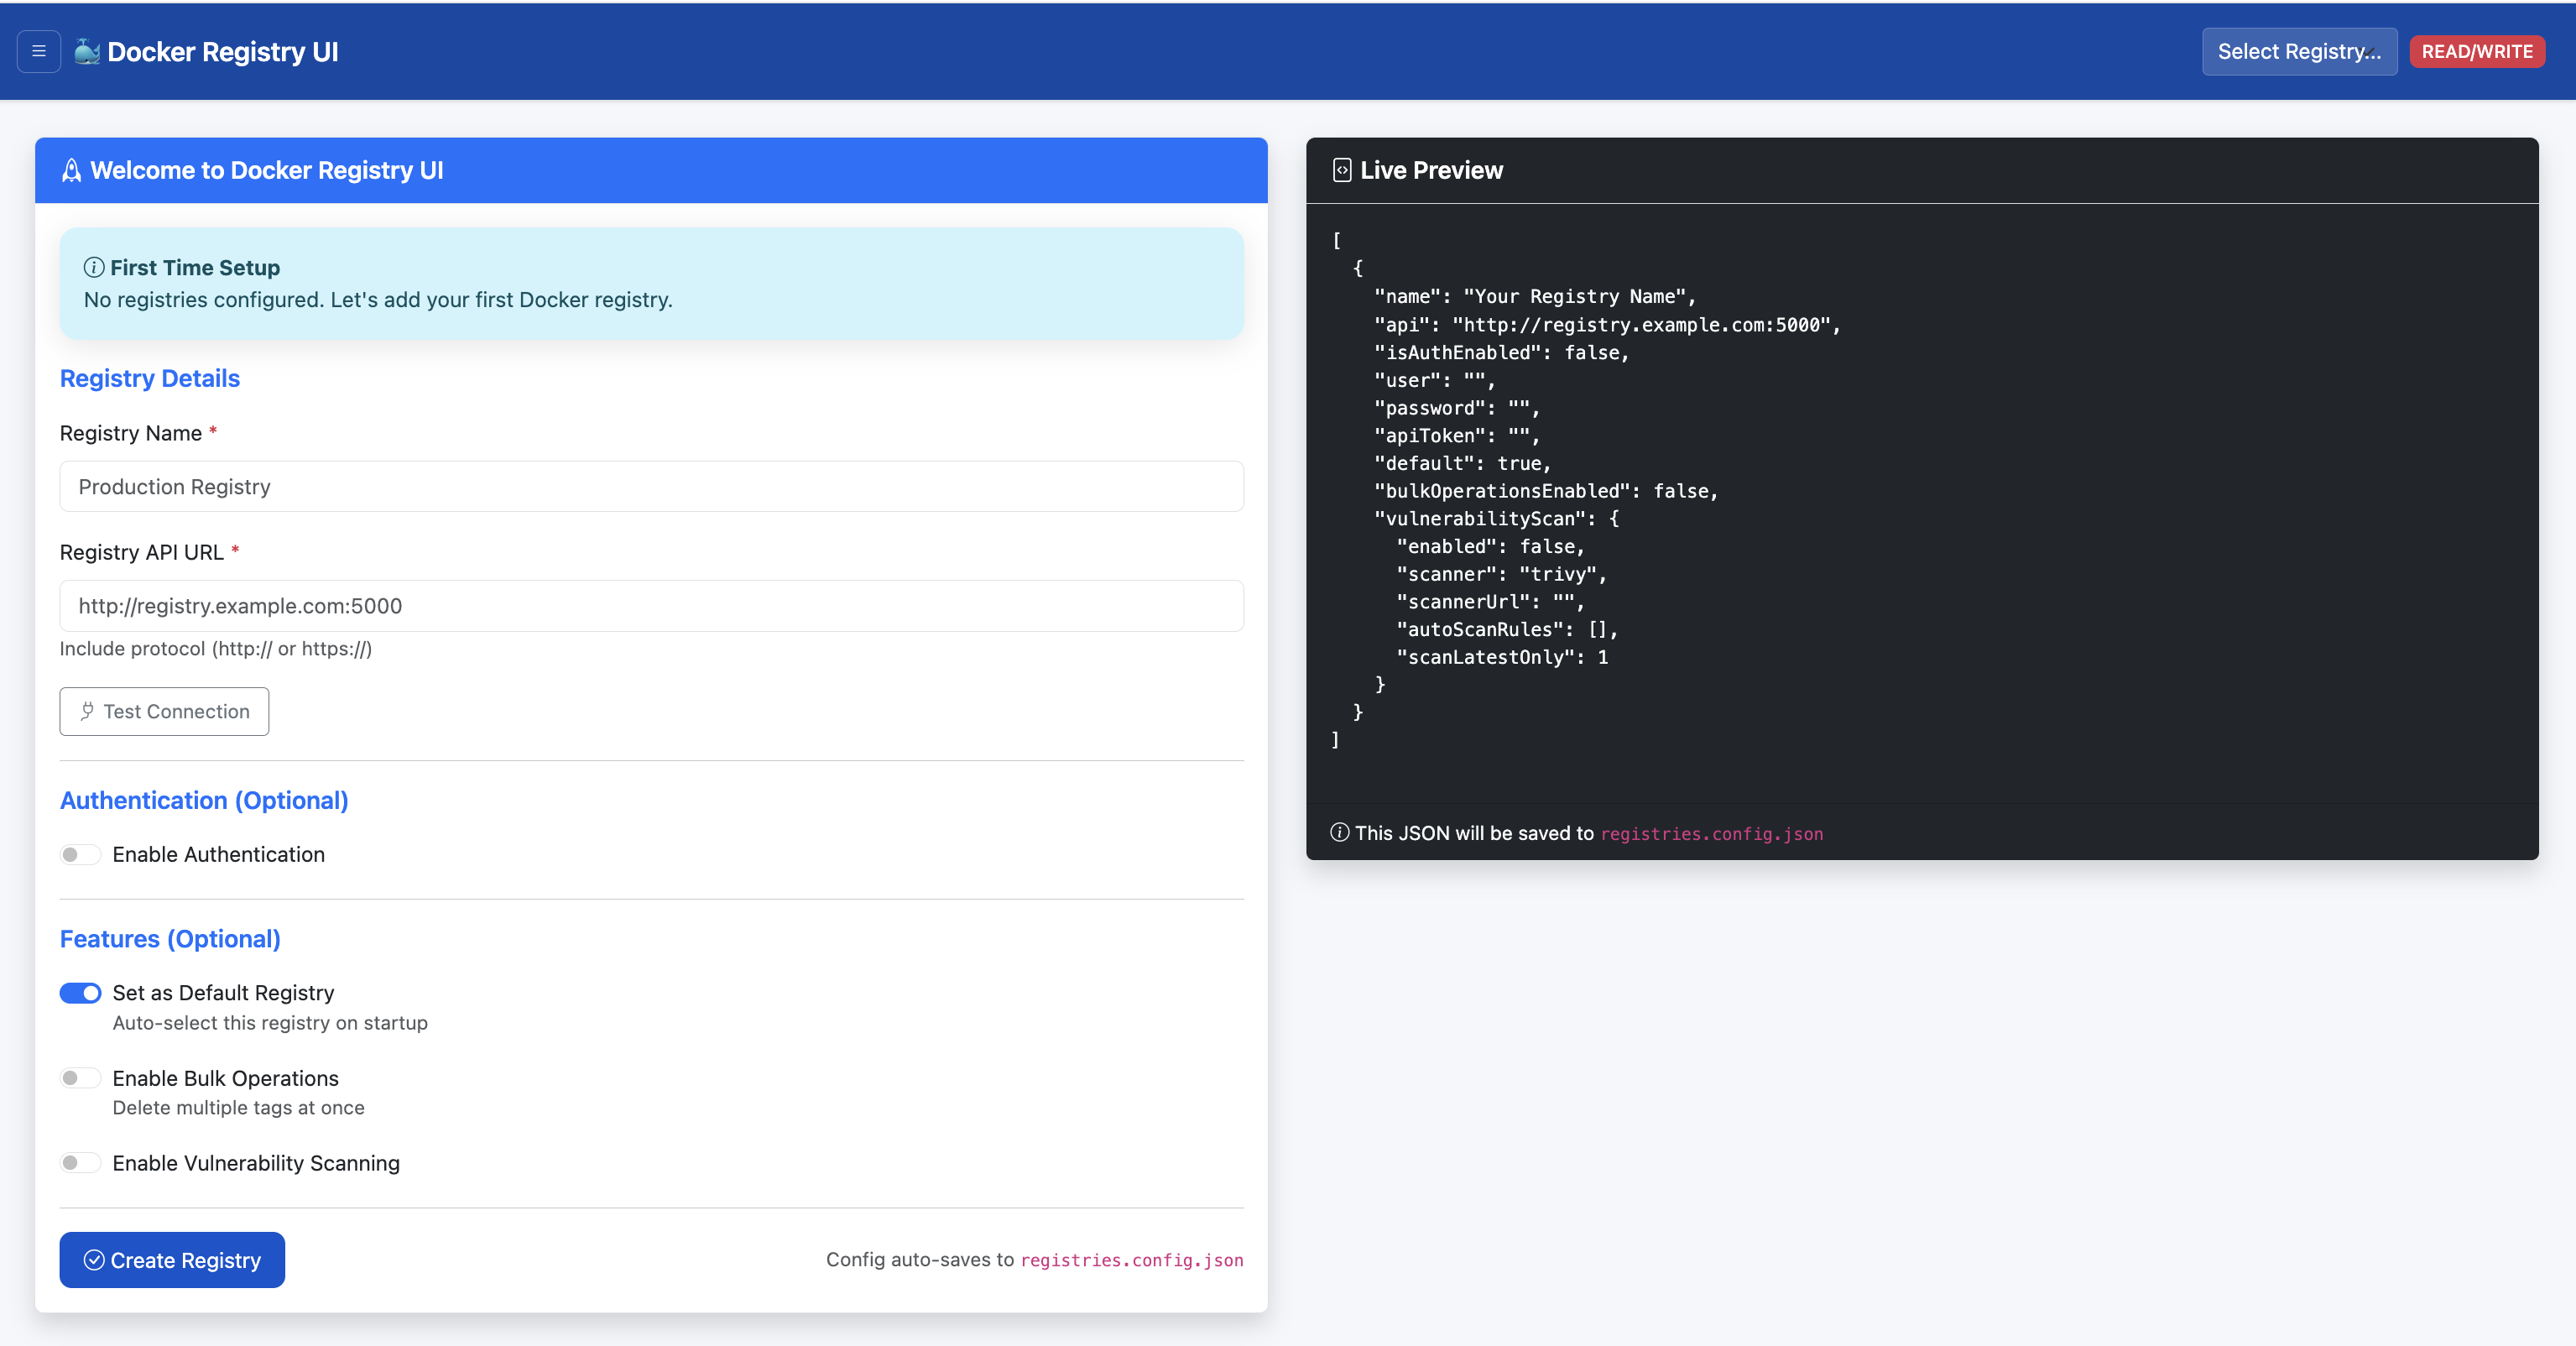
Access the UI at http://localhost:5000
Enter registry details:
http://localhost:5001)
Authentication: Enable if registry requires credentials
Click "Test Connection" to verify
Save configuration
Configuration is saved to the directory containing the configured CONFIG_FILE (for example if CONFIG_FILE=/app/data/registries.config.json, files are saved under /app/data).
Manual Configuration File
For automated deployments, create aregistries.config.json file before starting the UI:
Create the config file (example)
Create a directory to hold the config (for example./data) and add a file named registries.config.json. The application will read whatever path you point CONFIG_FILE at (see environment variables above). Example minimal file:
```
mkdir -p data
cat > ./data/registries.config.json
Store credentials securely (use Docker secrets or environment variables)
Use HTTPS for production registries
Enable read-only mode in production environments
Restrict network access to the UI
Regularly update the UI and Trivy scanner